How to Paint Kitchen Cabinets

Are you looking for an easy way to give your kitchen a facelift? Learning how to paint kitchen cabinets is a great way to makeover your kitchen without spending a lot of money. It's certainly a lot less mess and stress than ripping out cabinets and replacing them.
Now, painting kitchen cabinets, especially those that haven’t been painted before, requires a little time and preparation. But by DIY-ing your kitchen painting, you’ll get the updated look you want without a big investment.
What to Consider When Deciding to Paint Your Kitchen Cabinets
Before we delve into the best way to paint kitchen cabinets, there are a few factors to consider.
The Cost of Painting Cabinets
While painting kitchen cabinets is a cost-effective choice—and much cheaper than hiring painters or remodeling—it still requires some initial investment. You’ll need to buy the right paint and supplies to get a professional look. You may also want to purchase new hardware and even trim.
Aesthetics and the “Look” You Want
Before painting kitchen cabinets, you need to make a plan. First, consider the look you'd like. White cabinets are a popular option that will really open up the space. Dark grey is another popular color. If you’re ready to break out from neutral cabinetry, the sky’s the limit. Just keep in mind the other colors in your kitchen, appliances, countertops, and flooring.
The Type of Paint Needed

If you prefer to keep your existing wooden kitchen cabinets natural, you will want to decide on a finish. You can often refinish natural hardwood cabinets with an oil rub or gloss finish. In this case, it's only possible to go darker unless you sand down the cabinetry and remove any prior finish.
If you’re going to use paint, you have more options (and more to consider). The most popular type of paint for this job is water-based latex paint, but some people like the less-common oil-based paint for cabinets. You'll need to plan on at least two paint layers to cover darker colors.
Time to Paint
Many people assume they can paint their kitchen cabinets in a weekend. While it's possible under the right conditions, you'll need to set aside plenty of time for the project. Keep in mind that it takes much longer to DIY than to hire professional painters. It may also take several days between coats and drying time, during which your kitchen will be out of commission.
Cabinet Condition
Finally, before you paint your kitchen cabinets, you’ll need to take a careful, honest look at their current condition. Are they damaged or rotting? Are you happy with the configuration (and just want to update the color)?
Painting over existing kitchen cabinets will give your kitchen a facelift, but you’ll want to start with high-quality materials to make it worth the time and effort.
What Tools Do I Need to Paint Kitchen Cabinets?
If you’ve assessed all the factors above and decided that painting your kitchen cabinets is your best plan of action, you’ll need to gather your supplies to paint. To paint kitchen cabinets, you’ll need the following items:
- Interior Paint
- Primer
- Paint brushes and small rollers
- Paint trays
- Drop cloths
- Painter’s tape
- Screwdriver
- Rags
- Cleaning spray
- A step ladder
- Sandpaper
- Tack cloth
- New cabinet pulls
To paint kitchen cabinets with a professional look, you'll need a few tools to make the process smoother. It's essential to have high-quality brushes. A two-inch wide tapered synthetic brush is typically best for cutting and working around cabinets with latex paint.
For the best coverage, you will likely need to use a primer to cover your kitchen cabinets first. Primer helps paint stay in place, and it is especially important for high-contact areas like the kitchen. Depending on their finish, you may also need to sand and clean the cabinets.
What's the best paint for your kitchen cabinets? It depends on your desired finish (glossy, matte, etc.), budget, and the current finish on the cabinets you want to cover. The best way to choose the correct paint is to talk to a paint specialist at your local Do It Best. As a rule, the highest quality paint will offer the best, smoothest results.
How to Paint Kitchen Cabinets

If you're ready to paint your kitchen cabinets, here is a step-by-step guide to make the process easy and stress-free.
Step 1: Set Up the Kitchen
As with most DIY projects, it’s best to start with a clean, organized space before you start painting your kitchen cabinets. Move everything out of the kitchen so you can have plenty of room to work. The easiest way to paint cabinets is to remove the doors and paint them in the garage or outside.
You’ll want to cover your kitchen counters and the surrounding walls to protect against paint spills and drips. Be sure to use painter’s tape to create a barrier between the cabinets and the wall, backsplash, and ceiling.
Gather all your tools and materials before you begin your painting project. Be sure to wear coveralls, a smock, or older clothing that you don’t mind getting paint on. If you plan to sand any areas, you’ll also want to wear goggles and protective gear.
Step 2: Prepare Cabinets for Painting

It's important to follow the process of how to prepare your cabinets for painting before you begin. Preparing your cabinets for paint will ensure the application is smooth and the color lasts.
To start the preparation, you'll need to remove all cabinet doors and hardware (screws, handles, hinges, and pulls). Then clean and scrub the panels, removing any residue. Kitchens tend to be places where grease and dust accumulate, so cleaning the cabinets thoroughly is critical. Take your tack cloth and wipe down all the surfaces to ensure you've removed any sticky dust or grime (skip this step if you're painting new cabinetry).
Once you’ve washed and wiped the cabinets, you’ll want to give each panel a light sanding. Use #120 grit sandpaper to remove paint or finish from the wood and use a sanding block for flat areas. By sanding the cabinet fronts, you'll roughen up the surface helping the paint adhere better. In most cases, removing all of the previous finish is unnecessary. Vacuum the fronts, then run your tack cloth over the surface again to remove any remaining dust.
Step 3: Painting, Including Tips for Painting the Inside of Cabinets

Next, it's time to paint. During the painting process, it can be challenging to reach the inside of your cupboards. Still, in many cases, it may be necessary to paint the entire cabinet for a finished, professional look. Start with the doors that you've removed, as well as the outer fronts and sides of the cupboards.
It’s typically best to apply primer to all the paint surfaces before applying paint. If you select paint with built-in primer, you may not need to prime. You can test a small area, let it dry, and assess the coverage level.
You may want to use a paint sprayer to get an even coat on the doors. Alternatively, you can use a small brush and roller, working in the direction of the wood grain. Be sure to let the paint dry for at least four hours between coats for the best result. In most cases, 2-3 coats are enough to cover. Too many coats of paint can make the cupboards slow to dry.
Step 4: Finishing and Cleaning Up After Painting

Be sure to wait for all cupboard pieces to dry for at least 48 hours before you put your kitchen cabinets back together. Not only will this ensure that they won’t smudge or get scuffed, but it will also safeguard against tackiness that can make painted surfaces stick together.
Once the cupboards are completely dry, reattach the old hardware or attach new hardware and put everything back in place. It's so exciting to watch your beautiful new kitchen transform with freshly painted cabinets. Be sure to keep any leftover paint in case you need to make touch-ups on the cabinets.

Painting your kitchen cupboards is a rewarding DIY project with a tremendous visual payoff. If you want to update your kitchen, painting your cabinets is an easy way to make a big impact (without spending a fortune).
Visit your local Do It Best for all the supplies and materials you need to transform your kitchen into a space you’ll love!
While do-it-yourself projects can be fun and fulfilling, there is always a potential for personal injury or property damage. We strongly suggest that any project beyond your abilities be left to licensed professionals such as electricians, plumbers, and carpenters. Any action you take upon the information on this website is strictly at your own risk, and we assume no responsibility or liability for the contents of this article.
Related Articles

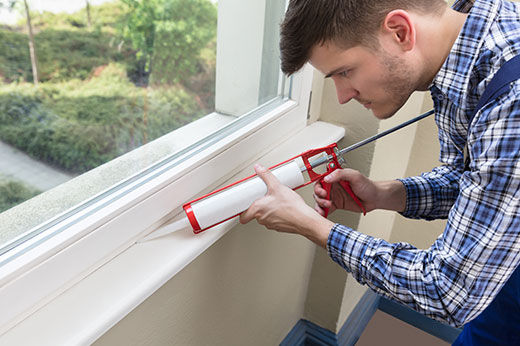
5 Tips to Caulk Like a Pro
Learn how to get the perfect bead of caulk for a professional-looking finish!
Learn more
5 Things to Do Before a House Appraisal
If you're new to the home appraisal process, it can be a bit daunting. Today, we'll explore what a home appraisal is, how to prepare for a house appraisal, and give you five must-dos to help the appraiser see your home at its best!
Learn more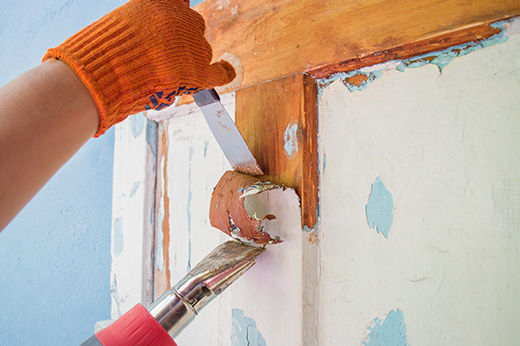
5 Ways to Remove Paint from Wood Surfaces
Looking to clean up old painted wood for a refinish or stain? With Do it Best, discover the top five best methods for easily stripping paint from wood!
Learn more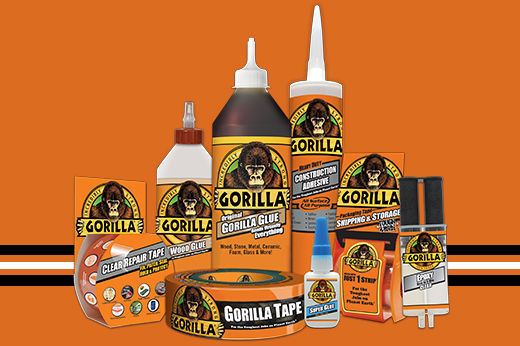
Gorilla Glue Buying Guide
Easily find the best adhesive to meet your next DIY project needs!
Learn more